


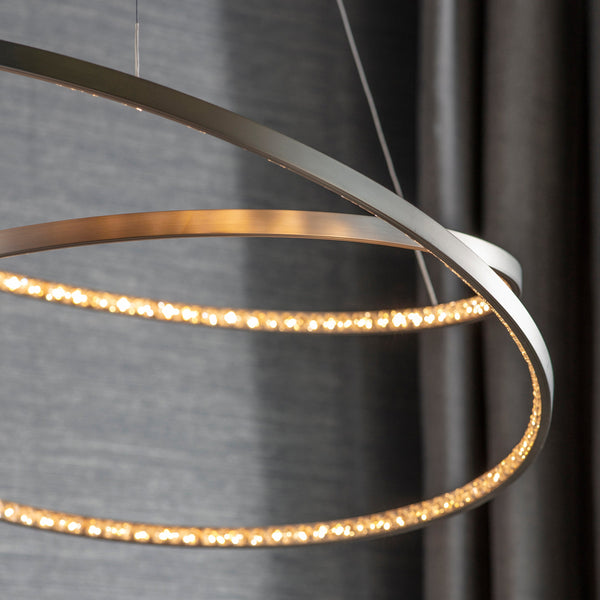


A Step-by-Step Guide to Hanging Your Chandelier
Hanging a chandelier can seem like a tricky task, but with the right guidance, it doesn't have to be daunting. Whether you’re updating your dining room or adding a touch of elegance to your living space, a chandelier can make a big difference in the look and feel of your home.
Before you start, it’s important to choose the right location for your chandelier. The perfect spot not only enhances the room’s aesthetics but also ensures functionality and safety. You’ll need to consider factors such as ceiling height, room dimensions, and the overall design theme. These considerations help you find a place where the chandelier will truly shine.
After selecting the ideal location, gathering the necessary tools and materials is the next step. Having everything you need at your fingertips makes the process smoother and quicker. From a sturdy ladder to the right type of screws, knowing what to prepare ahead of time helps you avoid any interruptions.
Once you’re prepped and ready, following a step-by-step installation process ensures that your chandelier is securely and safely hung. Paying attention to wiring and mounting details is crucial to prevent any mishaps. And after the installation, a few final touches and safety checks make sure your chandelier is perfectly in place and ready to dazzle.
Let’s dive into each step, so you can confidently hang your chandelier and add a touch of elegance to your home!
Choosing the Right Location
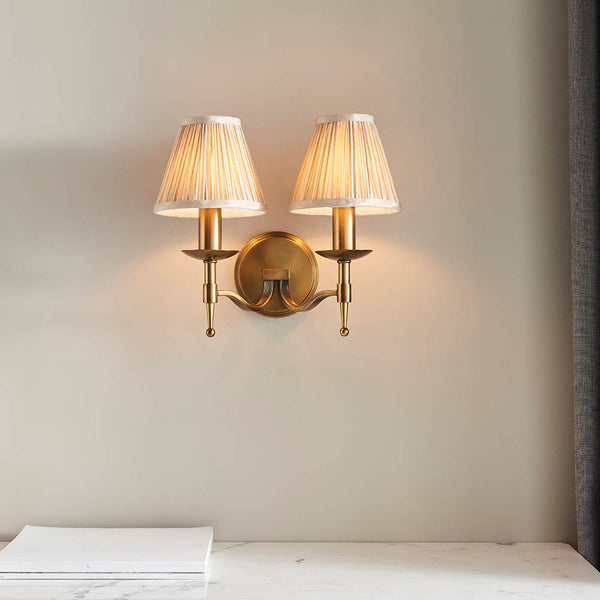
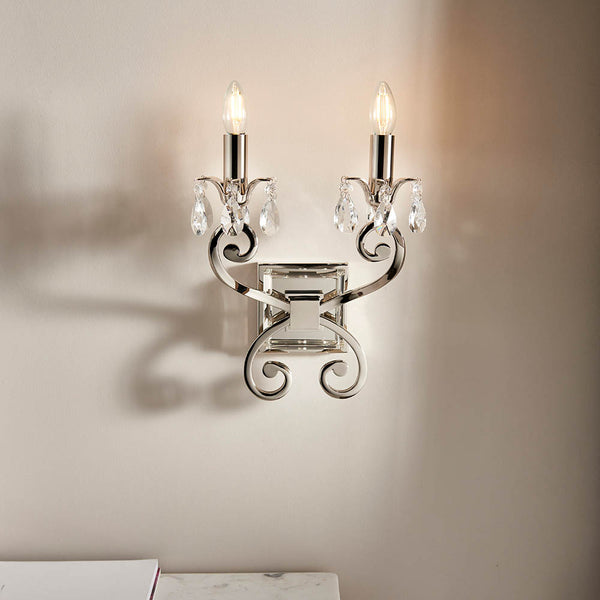
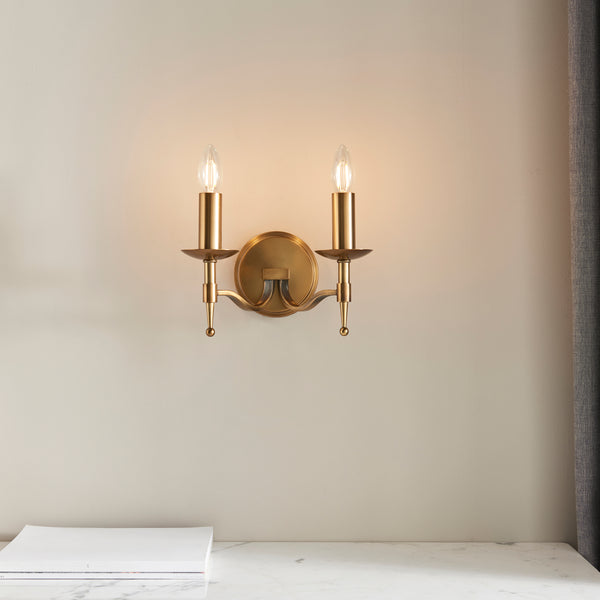
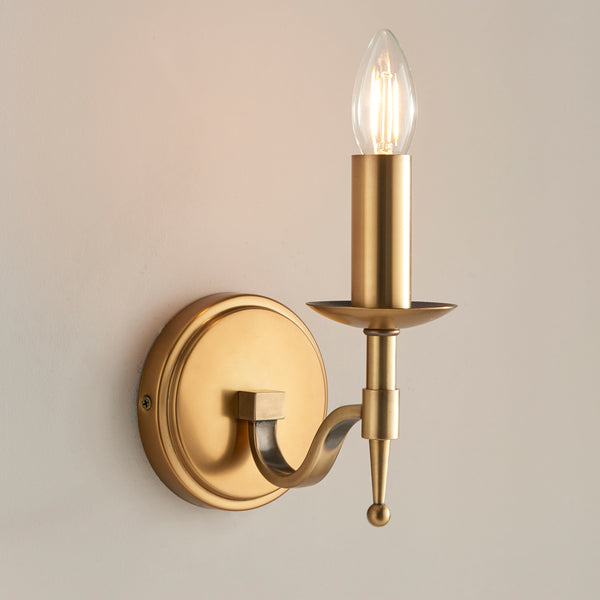
Choosing the right location for your chandelier is essential for both aesthetics and functionality. First, consider the room’s overall design and layout. The chandelier should complement the space rather than overwhelm it. If you’re placing it in a dining room, centre it above the dining table. In a living room, position it as a focal point, perhaps above the coffee table or in the centre of the seating area.
Ceiling height plays a crucial role, too. For high ceilings, a longer chain or rod may be necessary, while for lower ceilings, you’ll want a chandelier that sits closer to the ceiling. A good rule of thumb is to hang the chandelier so that it’s about 30 to 34 inches above the surface of a dining table, or 7 feet from the floor in a living area.
Additionally, consider the size of the room. A small chandelier might get lost in a large space, while a very large chandelier could overpower a smaller room. Measure the room to ensure your chandelier is the right size. For example, in a 10x12 foot room, a chandelier about 22 inches in diameter is a good fit. Following these tips will help you find the perfect spot where your chandelier will truly shine.
Gathering Your Tools and Materials
Before you begin the installation process, gather all the tools and materials you’ll need. Having everything on hand makes the job smoother and more efficient. Here’s a list of essential tools and materials:
- Ladder or step stool
- Electrical tape
- Wire stripper/cutter
- Screwdrivers (both flathead and Phillips)
- Pliers
- Voltage tester
- Anchors and screws
- Safety goggles and gloves
Once you have all your tools ready, you need to prepare your workspace. Start by turning off the power to the room where you’ll be working. This is crucial for safety. Use a voltage tester to double-check that the power is off before you handle any wiring.
Clear the area beneath the installation point. This provides a safe and open space to work without any obstructions. If you’re installing the chandelier above furniture, move it out of the way or cover it with a drop cloth to protect it from dust and debris.
Lay out all your tools and materials within easy reach. This helps you avoid unnecessary climbing up and down the ladder. With your tools and space prepared, you’re ready to start the installation process.
Installation Process: Step-by-Step Instructions
Now that you've prepared your space and gathered your tools, it's time to install your chandelier. Follow these steps for a safe and secure installation:
1. Turn off the power: Ensure the power to the chandelier's circuit is off by switching off the breaker and using a voltage tester to confirm.
2. Assemble the chandelier: Pre-assemble any parts of the chandelier on the ground according to the manufacturer's instructions.
3. Install the mounting bracket: Attach the mounting bracket to the electrical box in the ceiling using the provided screws. Ensure it’s tight and secure as it will support the chandelier's weight.
4. Connect the wires: Match the chandelier wires to the ceiling wires by colour: black (live), white (neutral), and green or copper (ground). Connect them using wire connectors and secure with electrical tape. Make sure the connections are tight and properly covered.
5. Attach the chandelier to the bracket: With help from another person if needed, lift the chandelier and attach it to the mounting bracket. Secure it using the screws or bolts provided.
6. Install bulbs and shades: Once the chandelier is firmly in place, install the light bulbs and any shades or covers according to the instructions.
7. Turn on the power: After the chandelier is securely mounted and wired, turn the power back on at the breaker and test the light switch to ensure everything works correctly.
Following these steps ensures that your chandelier will be safely and securely installed, ready to bring light and style to your room.
Final Touches and Safety Checks
After installing your chandelier, perform some final checks and adjustments to ensure everything looks and functions perfectly. Here’s a handy checklist:
1. Check connections: Ensure all wire connections are secure and covered with electrical tape. Loose wires can be a safety hazard.
2. Stability: Gently shake the chandelier to check its stability. It should be firm and not wobble.
3. Adjust height: If necessary, adjust the height of the chandelier to ensure it is level and at the appropriate height from the floor or table.
4. Tidy up wiring: Ensure the wires are neatly tucked away and not visible. This gives your chandelier a clean, professional look.
5. Test the lights: Turn the lights on and off a few times to ensure there’s no flickering and everything functions properly.
6. Clean fingerprints: Wipe down the chandelier to remove any fingerprints or smudges that may have occurred during installation.
7. Regular maintenance: Set a schedule for dusting your chandelier regularly and deep cleaning it at least once a year to keep it sparkling.
By following these final steps, your chandelier should look beautiful and work perfectly, adding both light and elegance to your room.
Final Thoughts
Hanging a chandelier may seem like a big task, but with the right steps, it can be a straightforward and rewarding project. From choosing the right location and gathering the necessary tools to the actual installation and final touches, every step is crucial for ensuring safety and achieving a beautiful result.
A well-placed chandelier enhances a room’s décor and provides functional lighting. Making sure it’s safely installed gives you peace of mind and allows you to enjoy its beauty for years to come. Regular maintenance and checking connections occasionally will keep your chandelier in top shape.
Ready to transform your room with a stunning chandelier? Visit Lush Chandeliers to explore our unique selection of high-quality chandeliers that suit any room or budget. Let us help you bring elegance and style to your home!