


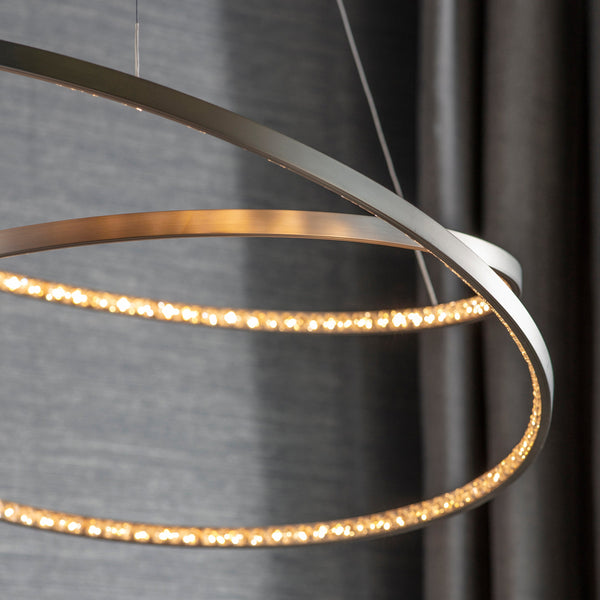


Simple Ways to Install Your New Chandelier Safely
Installing a chandelier can be a rewarding project, adding elegance and charm to any room. While it might seem like a daunting task at first, with the proper guidance and a bit of care, you can successfully hang your new lighting fixture without a hitch. The key to a smooth installation lies in preparation and attention to detail.
Before diving into the installation process, it's important to gather all the necessary tools and understand the steps involved. This way, you're not only ensuring safety but also making sure your chandelier looks perfect once it's up. From choosing a sturdy support system to carefully connecting the wiring, each step is crucial for achieving a professional finish.
With a focus on simplicity and safety, this guide will walk you through the process, ensuring your chandelier enhances your room beautifully and securely. By following these easy tips, you'll feel confident in your DIY skills and proud of the stunning new addition to your home.
Gathering the Right Tools and Materials
Before you begin installing your chandelier, it's important to have everything you need on hand. Having the correct tools and materials will make the process smoother and ensure the chandelier is installed safely and securely. Here’s a checklist to help you get started:
-
Tools Required:
- Screwdriver (both flathead and Phillips)
- Wire stripper and cutter
- Pliers
- Drill with drill bits
- Ladder or step stool
- Voltage tester
- Wrench for nuts and bolts
-
Materials Needed:
- Electrical tape
- Wire connectors (also known as wire nuts)
- Mounting bracket (usually included with the chandelier)
- Safety glasses
- Gloves for protection
-
Additional Supplies:
- A helper (strongly recommended for support and safety)
- A blanket or mat to protect the floor if parts are dropped
Make sure the power is turned off at the circuit breaker before you start, and use the voltage tester to confirm there's no electricity flowing through the wires. This step is crucial to avoid any electric shock. Having these tools and materials ready ensures a safe and efficient chandelier installation process.
Preparing the Installation Area
Proper preparation of the installation area sets the stage for an easy and safe chandelier setup. Ensuring the space is ready makes the whole task more straightforward and minimises potential hazards. Here are key steps to follow for preparing your space:
-
Clear the Area: Remove any furniture or items directly below where the chandelier will hang. This provides ample working space and prevents potential damage to your belongings.
-
Check the Ceiling: Evaluate the strength of the ceiling where the chandelier will be installed. Make sure it can support the weight of your chandelier. If it's heavy, you might need to install additional support like a ceiling joist.
-
Locate the Electrical Box: Identify and assess the electrical box in the ceiling. Verify that it’s rated to hold the weight of your chandelier. If not, you may need a stronger fixture box.
-
Refer to Instructions: Read the chandelier’s instructions or manual. Familiarise yourself with the specific setup and parts included.
-
Prepare the Ladder: Position a sturdy ladder or step stool. Make sure it’s stable and tall enough for you to comfortably reach the ceiling.
-
Organise Your Tools: Keep your tools within reach and organised. This helps during installation and makes it easier to follow each step without pausing to search for what you need.
By preparing the installation area, you make the chandelier installation safe and efficient, reducing the likelihood of mistakes or accidents. With the area ready, you're all set to proceed to the installation.
Step-by-Step Installation Process
With everything prepared, it's time to install your chandelier. Following a clear set of steps is crucial for a successful and safe installation. Here's a simple guide:
-
Attach the Mounting Bracket: Secure the mounting bracket to the electrical box using the screws provided. This will hold the chandelier in place.
-
Connect the Wiring: Carefully connect the chandelier wires to the ceiling wires. Match the colours together: typically, black to black (live), white to white (neutral), and green or copper to the home’s ground wire. Use wire connectors to secure the connections and wrap them in electrical tape for added safety.
-
Install the Chandelier: With help from a friend, lift the chandelier and attach it to the mounting bracket. Ensure all screws and bolts are tightly secured.
-
Adjust Links and Chains: If your chandelier has an adjustable chain, make sure it’s set to the desired length before fully securing it. This ensures it hangs at the right height.
-
Secure Any Fixture Covers: Attach any covers or decorative elements that were included. These are often the last pieces to be put in place.
-
Test the Fixture: Finally, restore power at the circuit breaker and turn on the light switch to ensure your chandelier lights up properly.
This process helps you systematically install your chandelier with confidence and care.
Ensuring Safety and Functionality
Once installed, it’s important to ensure that your chandelier operates safely and functions as intended. This step is key to enjoying your new fixture while maintaining peace of mind.
-
Check Stability: Double-check all screws and connections. Make sure they are tight and secure. A stable fixture will hang evenly and feel solid.
-
Inspect the Electrical Connections: Confirm that there are no exposed wires or loose connections. This helps prevent any electrical issues or hazards.
-
Test the Light Output: Ensure each bulb in the chandelier lights up evenly and adjust any misaligned bulbs. This ensures maximum illumination and aesthetics.
-
Look for Flickering or Sparks: If any bulbs flicker or sparks appear, turn off the power immediately and recheck the connections. It’s crucial to address any problems before they become bigger issues.
-
Check for Noises: Listen for any unusual buzzing or sounds when the light is on, as this could indicate a wiring issue.
-
Review the Weight Capacity: Confirm that the ceiling can handle the weight, especially if it feels wobbly after installation.
By ensuring safety and functionality, you guarantee the chandelier enhances your room beautifully and without worry.
Brightening Your Space with Confidence
Successfully installing a chandelier can brighten up any space, providing a touch of elegance and a satisfying glow. The process, while detailed, is rewarding, allowing you to enjoy a beautiful addition to your home. Whether enhancing a living room or adding charm to your bedroom, a well-placed chandelier changes the vibe of your space.
Confidence is key when working on such projects, and knowing you have correctly installed and ensured the safety of your chandelier gives you peace of mind. As you follow the steps covered, remember to prioritise safety and take the necessary precautions. This methodical approach not only ensures a smooth installation but also a stunning result that you’re bound to admire each day.
Explore the diverse collection at Lush Chandeliers to find the perfect piece for any room, regardless of your style or budget. From classic designs to modern crystal Chandeliers, our range is designed to suit your home. Contact us today to discover how a beautifully crafted chandelier can transform your space into a beacon of light and style.